
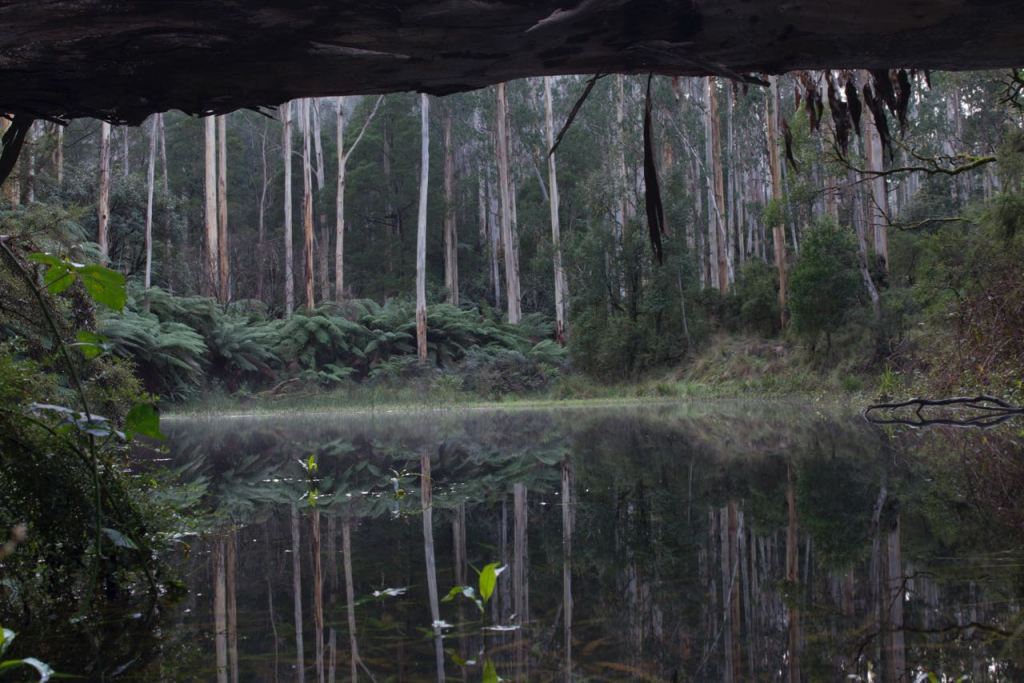
As a landscape photographer I have perhaps the ideal location. Travel no more than an hour in any direction and my environment ranges from Volcanic Plains, Salt Lakes, the Otway Ranges, Great Ocean Road and more. With all this variety it’s no wonder that I can always find somewhere to go and explore! But at the same time, being able to travel to experience different cultures is always on my mind as well.
Wherever photograph I have a defined process that I follow …

Each of the elements require different skills and techniques.
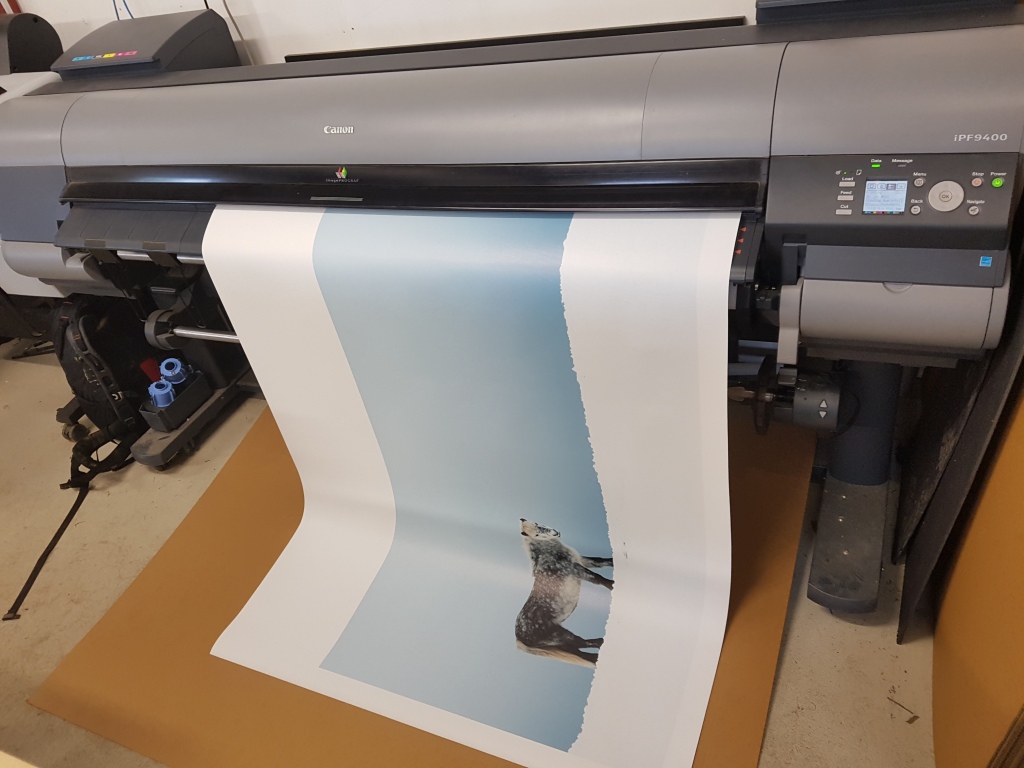
Perhaps the ‘darkest art’ is creating high quality Fine Art Prints.


The biggest misconception about photography comes from the multitude of ways people can shoot these days, with modern smart phones now taking over the role that the good old ‘point and shoot’ camera once held.
Whilst I do use the phone from time to time, its role is usually limited to sharing online. To take the next step, and capture a photograph that is suitable for large (or small) format printing still requires a good quality camera, lenses and perhaps more importantly the ability ‘to see’.
It is a skill that many landscape painters possess, but that many photographers don’t.
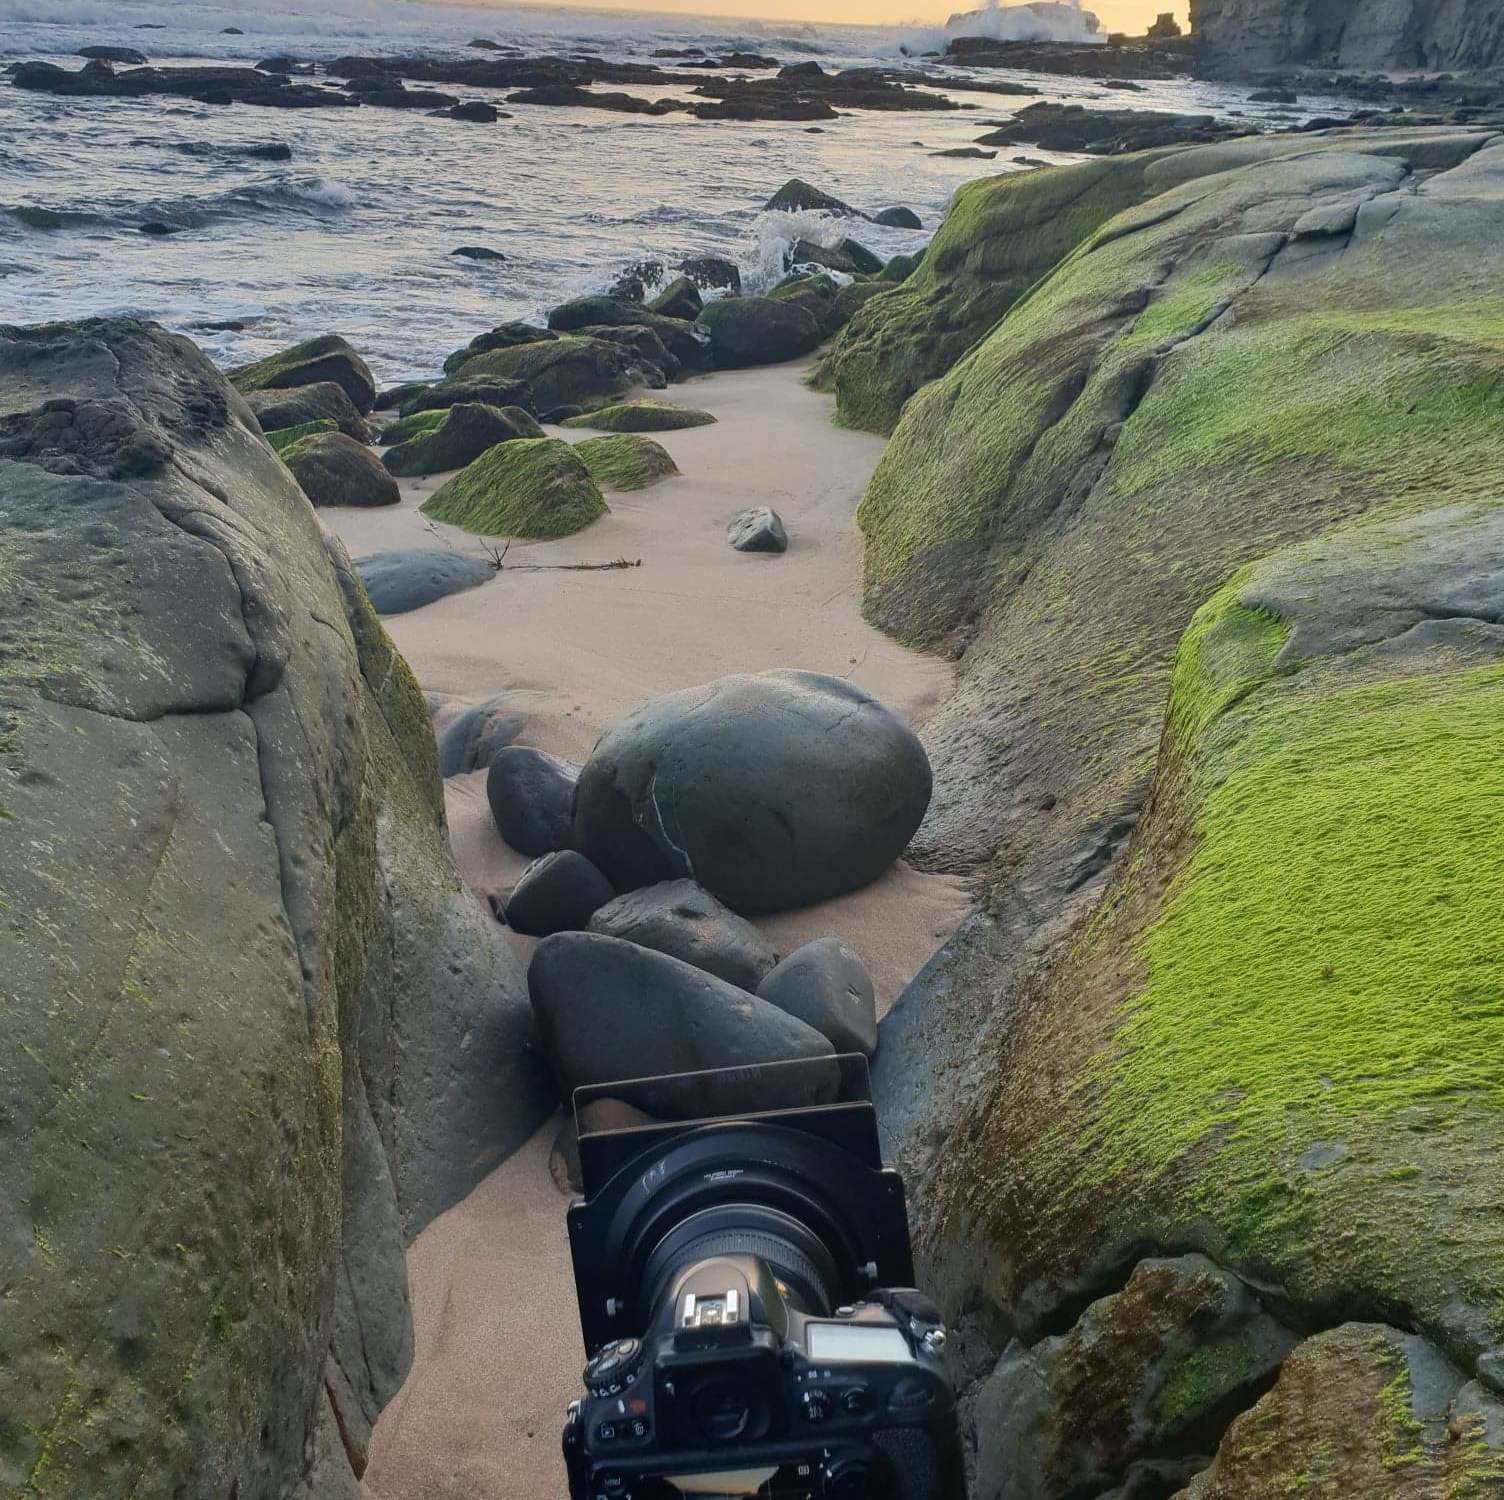
I am a ‘slow shooter’, often arriving on scene and then sitting back, absorbing. This might take a few minutes, or it might take half an hour – but either way it’s essential. When running landscape a workshop it is common to see participants arrive, unpack and start firing away. The theory being ‘it’s digital, we can just delete them’.
In practice this approach generally leads to the photographer missing the smaller intimate details, and ending up with an image that is lacking good composition. If there was only one tip I could give it would always be to ‘stop, look, listen and plan’, and once the composition elements have been thought through, then the appropriate settings can be addressed in the camera.


Editing a photograph is an essential element in process of creating a fine art image. The terms are important – the photograph was ‘as captured by the camera’, and the image being the results of the editing process. When shooting with DLSR cameras they usually have two modes – JPG and RAW. In JPG the photograph saved on the camera has been processed using the computing power of the camera. When shooting in RAW format the camera simply captures the scene, and does not do anything more. Shooting in RAW gives the photographer the chance to edit the image themselves, creating the mood and adding depth that only come from a connection with the scene.
The editing process usually starts by setting white and black points, investigating the details in the shadows and looking at the contrast in the scene – with the aim to create some depth in the image. The next steps involve looking at unwanted elements, the small things that grab the viewers eye and detract from the scene. You can see this in the before/after images here. The original image had a lot of eye-catching bright spots on the water, but removing them the image is better balanced, and the composition vastly improved.


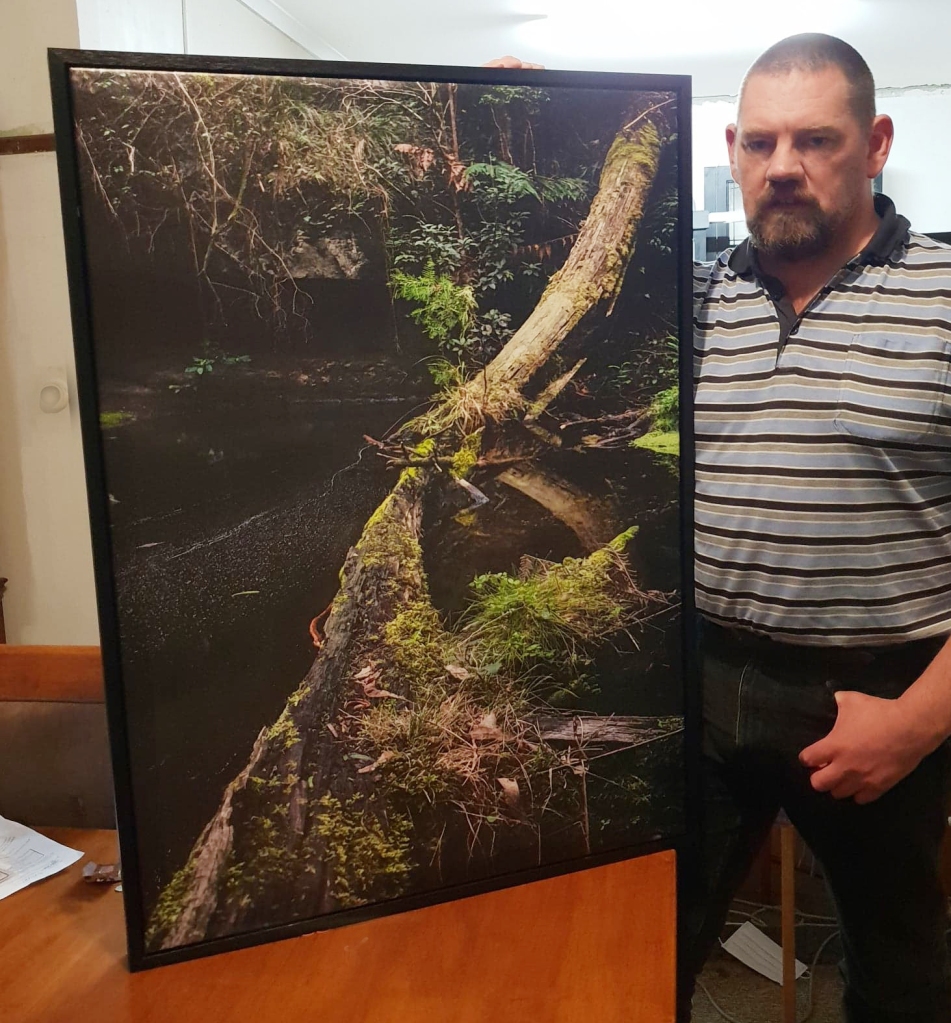
Once an image has been created, now it is time to decide how it is going to be viewed – on a device or printed. When printing, the print medium needs to be taken into account. Prints will always look different to onscreen viewing, and often the screens are much brighter than printed images. This is where the ‘dark art of printing’ comes in. Understanding what print media best suits the image is vital to getting the best results. In my print studio I have 20+ paper and canvas options. Each has a role, but it is the image the dictates the media that is used.

Often when printing work for a client, the request is ‘can you print this on …’.
However taking the approach of the ‘image chooses media’, I will offer up a suggested print media – with the reason why.
The difference between a ‘happy snap’ and ‘fine art print’ requires attention to detail from shooting through to printing.
If you are interested in this process, or are looking at print options then please get in touch.
I will guide you through the steps to create and print your own images, something that you will be proud to hang on your walls.

